The Hiker’s 10 Essentials

I remember the first time my family took a trip to Harney Peak, more recently renamed Black Elk Peak, in the Black Hills of South Dakota. We each had a liter bottle strung on a cross-body strap, a pair of sunglasses, leather buckle sandals, and a baseball cap or, in my case, one of those super-cool, trend-setting 90s plastic sun visors. And that was it. No snacks. No jackets. Nothing.
I think we were about 1.5 to 2 miles up that mountain when we ran out of water.
Allow me to let you in on a secret. Some locals like to play tricks on silly little tourists like us. When my parents approached groups coming down from the mountain, asking how much further we had to go and what was at the top, we were met with "You're almost there!" and "There's a convenience store at the top!" and "Don’t worry, you can buy water and snacks at the store at the top!" Friends, we had just been to Pike’s Peak were there is an actual store at the top, so please refrain from judging our poor naive souls.
Unlike Pike’s Peak, there is not and was not a store at the top of Black Elk Peak. There were no snacks, water, or air conditioning to be found at the summit. Just an old, crumbly fire watch tower and some discarded chip wrappers.
Not to mention, it was a hot, hot, hot and humid July day. Which means one thing in the Black Hills. Afternoon thunderstorms. Fun fact, Harney, ahem Black Elk Peak, is the tallest peak between the Rocky Mountains and the Pyrenees Mountains in France. Not exactly where you want to be during a spring thunderstorm.
After that trip, I always made sure to carry an extra bottle of water, a bag of fruit snacks, a light jacket, and some tissues in my backpack. It wasn’t much but it sure was more than we carried that day.
It wasn't until I met my boyfriend (now husband) that I learned to be better prepared when adventuring outdoors.
Below is a list of 10 essential items that every hiker should carry in their pack before heading outdoors.
The 10 Essentials

The "10 Essentials" is a list of emergency provisions originally created by The Mountaineers, a Pacific Northwest hiking and conservation non-profit. According to The Mountaineers, the objective of the 10 Essentials is to ensure that you can not only respond to an emergency, but also spend at least one night outdoors. It’s a classic reference point in the hiking community for beginners and experts alike.
Navigation
Light
Sun protection
First Aid Kit
Repair kit
Emergency shelter
Fire
Nutrition
Hydration
Insulation
1. Navigation

Download a map of the trail to your phone before you go. You can use an app like AllTrails+, Cairn, or Gaia GPS to download the trail before you go, in case there isn't any cell or data reception. Once you are on trail, open the app and log your progress to make sure you stay on trail. The apps should notify you if you stray from the main trail. Just make sure your phone's volume is up so you can hear it and check the app regularly.
Carry a GPS that has an SOS feature and allows for two way messaging. The GPS and messaging features can work as a stand-alone or with your phone. The SOS is handy in case you are lost or injured and need to call for professional medical help.
Check out the top GPS devices with SOS for 2023.
Map and compass may be oldies but they’re goodies. If you are planning to go on a backpacking trip or hike somewhere unfamiliar, it is always smart to print out a geological map of the area and trail. Make sure you store it in a tight waterproof container like a Ziplock so that it won't get damaged. We recommend doing this even if you don't know how to use a compass since it can still provide you with some reference of where you are in relation to the area, in case you get lost.
2. Light

Headlamp. This item is our favorite. The amount of times it has come in clutch... let us tell you... always keep one in your bag!
Flashlight. A small flashlight and/or your cell phone's built-in flashlight can come in handy when you least expect.
Batteries. Keep them separate from your headlamp or flashlight so that they will stay "like new." We like to put a little duct tape over each end to prevent corrosion/touching when they aren't in use.
3. Sun Protection

Cover what you can with clothing. The best way to protect your skin from burns and premature aging is to cover it with light-colored, long, loose-fitting clothing. Don't forget to wear a hat with a wide brim and ventilation.
Sunglasses are a must. There is a direct relationship between the sun's UV rays and cataracts. Protect your eyes so you don't need surgery later in life. Look for polarized sunglasses. These reduce the glare from the sun off of reflective objects like snow, water, and rocks.
Keep mineral-based sunscreen in your pack so you always have it. If you have body and face sunscreen bottles in your pack at all times, you'll never forget it at home accidentally.
Skip the aerosol sunscreens. They don't go on evenly, are chemical based, and are bad for the environment. Plus they don't work at high elevations and you still need to rub them into your skin in order to have “even” coverage. #notworthit
Here are some more ways to protect yourself from the sun and heat.
3. First Aid Kit

Always pack one. No matter how short or long the hike is, it is always good to carry a First Aid Kit. You never know when you will need it.
Don't have one? Grab our Adventure Bottle. It contains both First Aid items and Emergency essentials.
Pack yours, even if your hiking partner is bringing theirs. They may not have the same items packed as you and, therefore, may be missing some vital essentials. They may also not keep theirs updated (eg rotate out expired medications - not that that is the end of the world - they are still “good” just less effective). And God forbid you get separated, you aren't left without if you packed your own.
4. Repair Kit

A repair kit may include some or all of the following (depending on your needs and comfort level):
Duct tape. Duct tape can be used to repair or patch many items that are broken or have a tear. This can include water bladders, clothing, rain gear, dry sacks, trekking poles, and more.
Sail needle. This can be used to stitch fabric back together if there is a tear.
Floss. This can be used as a make-shift thread for sewing fabric together, creating a pull-cord if your zipper breaks, and more.
Safety pins. Safety pins can be used to repair clothing and gear, secure bandaging around an injury, or to pluck out a splinter.
Knife. Although perhaps not ideal, a knife can be used as a multitool. From shaving off small pieces of wood or bark to tightening a screw on your trekking poles, your knife can be used for a variety of needs. Plus, it's never bad to have a defensive weapon on you just in case.
Multitool. More versatile than a knife, but also typically heavier, a multitool can be used to tighten your trekking poles, cut moleskin, open a wine bottle, pull out a splinter and more.
6. Emergency Shelter
Emergency mylar bag or blanket. This is lightweight, compact, and easy to use. It can be used to keep the rain or sun off of you or it may be wrapped around your body to conserve heat. Its reflective coloring also helps emergency parties find and rescue you, if lost and/or injured.
7. Fire

If it gets cold, you'll need a way to stay warm. Being able to start a fire is essential. This is especially true if you find yourself lost and the temperatures start dropping or you need to sterilize water to stay hydrated.
TinderQuik + BIC lighter. This duo is perhaps the easiest solution for novice fire starters.
Stormproof matches + petroleum jelly-soaked cotton balls or dryer lint. These are a more affordable and lightweight option. Just make sure you keep the petroleum jelly-soaked material in a container by itself like an empty pill bottle. It can be quite messy.
8. Nutrition

Trail snacks. If it’s a short hike, you may just want to bring a few snacks, plus extra (for sharing or the car ride home).
Dehydrated or freeze-dried meals. If it’s a long hike, you should pack a dehydrated or freeze-dried meal, just in case. There will come a day when you are thankful that you did.
9. Hydration

Pack enough water for your hike. A good rule of thumb is to pack ½ L+ per predicted hours on trail. If you are hiking at high altitude or gaining a ton of elevation, aim for ¾ L+ per hour.
Bring a filter, just in case. Great options include the Grayl or the Sawyer Mini paired with a CNOC water bag. Good options include a LifeStraw or LifeStraw filter in either a Camelback or Nalgene bottle.
10. Insulation

Layering is a must. No matter what time of year it is, it's always smart to wear a base layer and wear/bring both a mid-layer and an outer layer.
Accessories make everything better. If you are hiking early morning or late afternoon, you may want a light pair of gloves and a hat. Check what temperatures you will be hiking in.
Extra socks. Your feet may get wet if it rains or you have to cross a creek. Socks are light and take up almost no room in your bag. Carry them.
Honorable Mentions
Tissues. We like to keep a small pack in the hip pocket of our backpack so they are easy to get to.
Antimicrobial pee cloth. Hey, it happens to all of us. We are drinking water to stay hydrated when (BOOM!) you have the urge to pee and it’s all you can think about. Kula Cloth has some fun designs; you are sure to find one that you like!
Portable Urination Device (PUD). This can make going easier if the trail you are hiking is highly populated, you don’t have great balance, or you don’t like “baring it all.”
Stainless steel cup + long titanium spoon. These will come in handy if you need to cook up a freeze-dried meal you have stashed in your bag. We like Ozark's 18oz stainless steel cup since it’s lightweight, cheap, and easily fits onto the bottom of a 32oz Nalgene. TOAKS makes an almost-weightless spoon that is long enough that you won't get food all over your hand when you reach in the bag for your next bite.
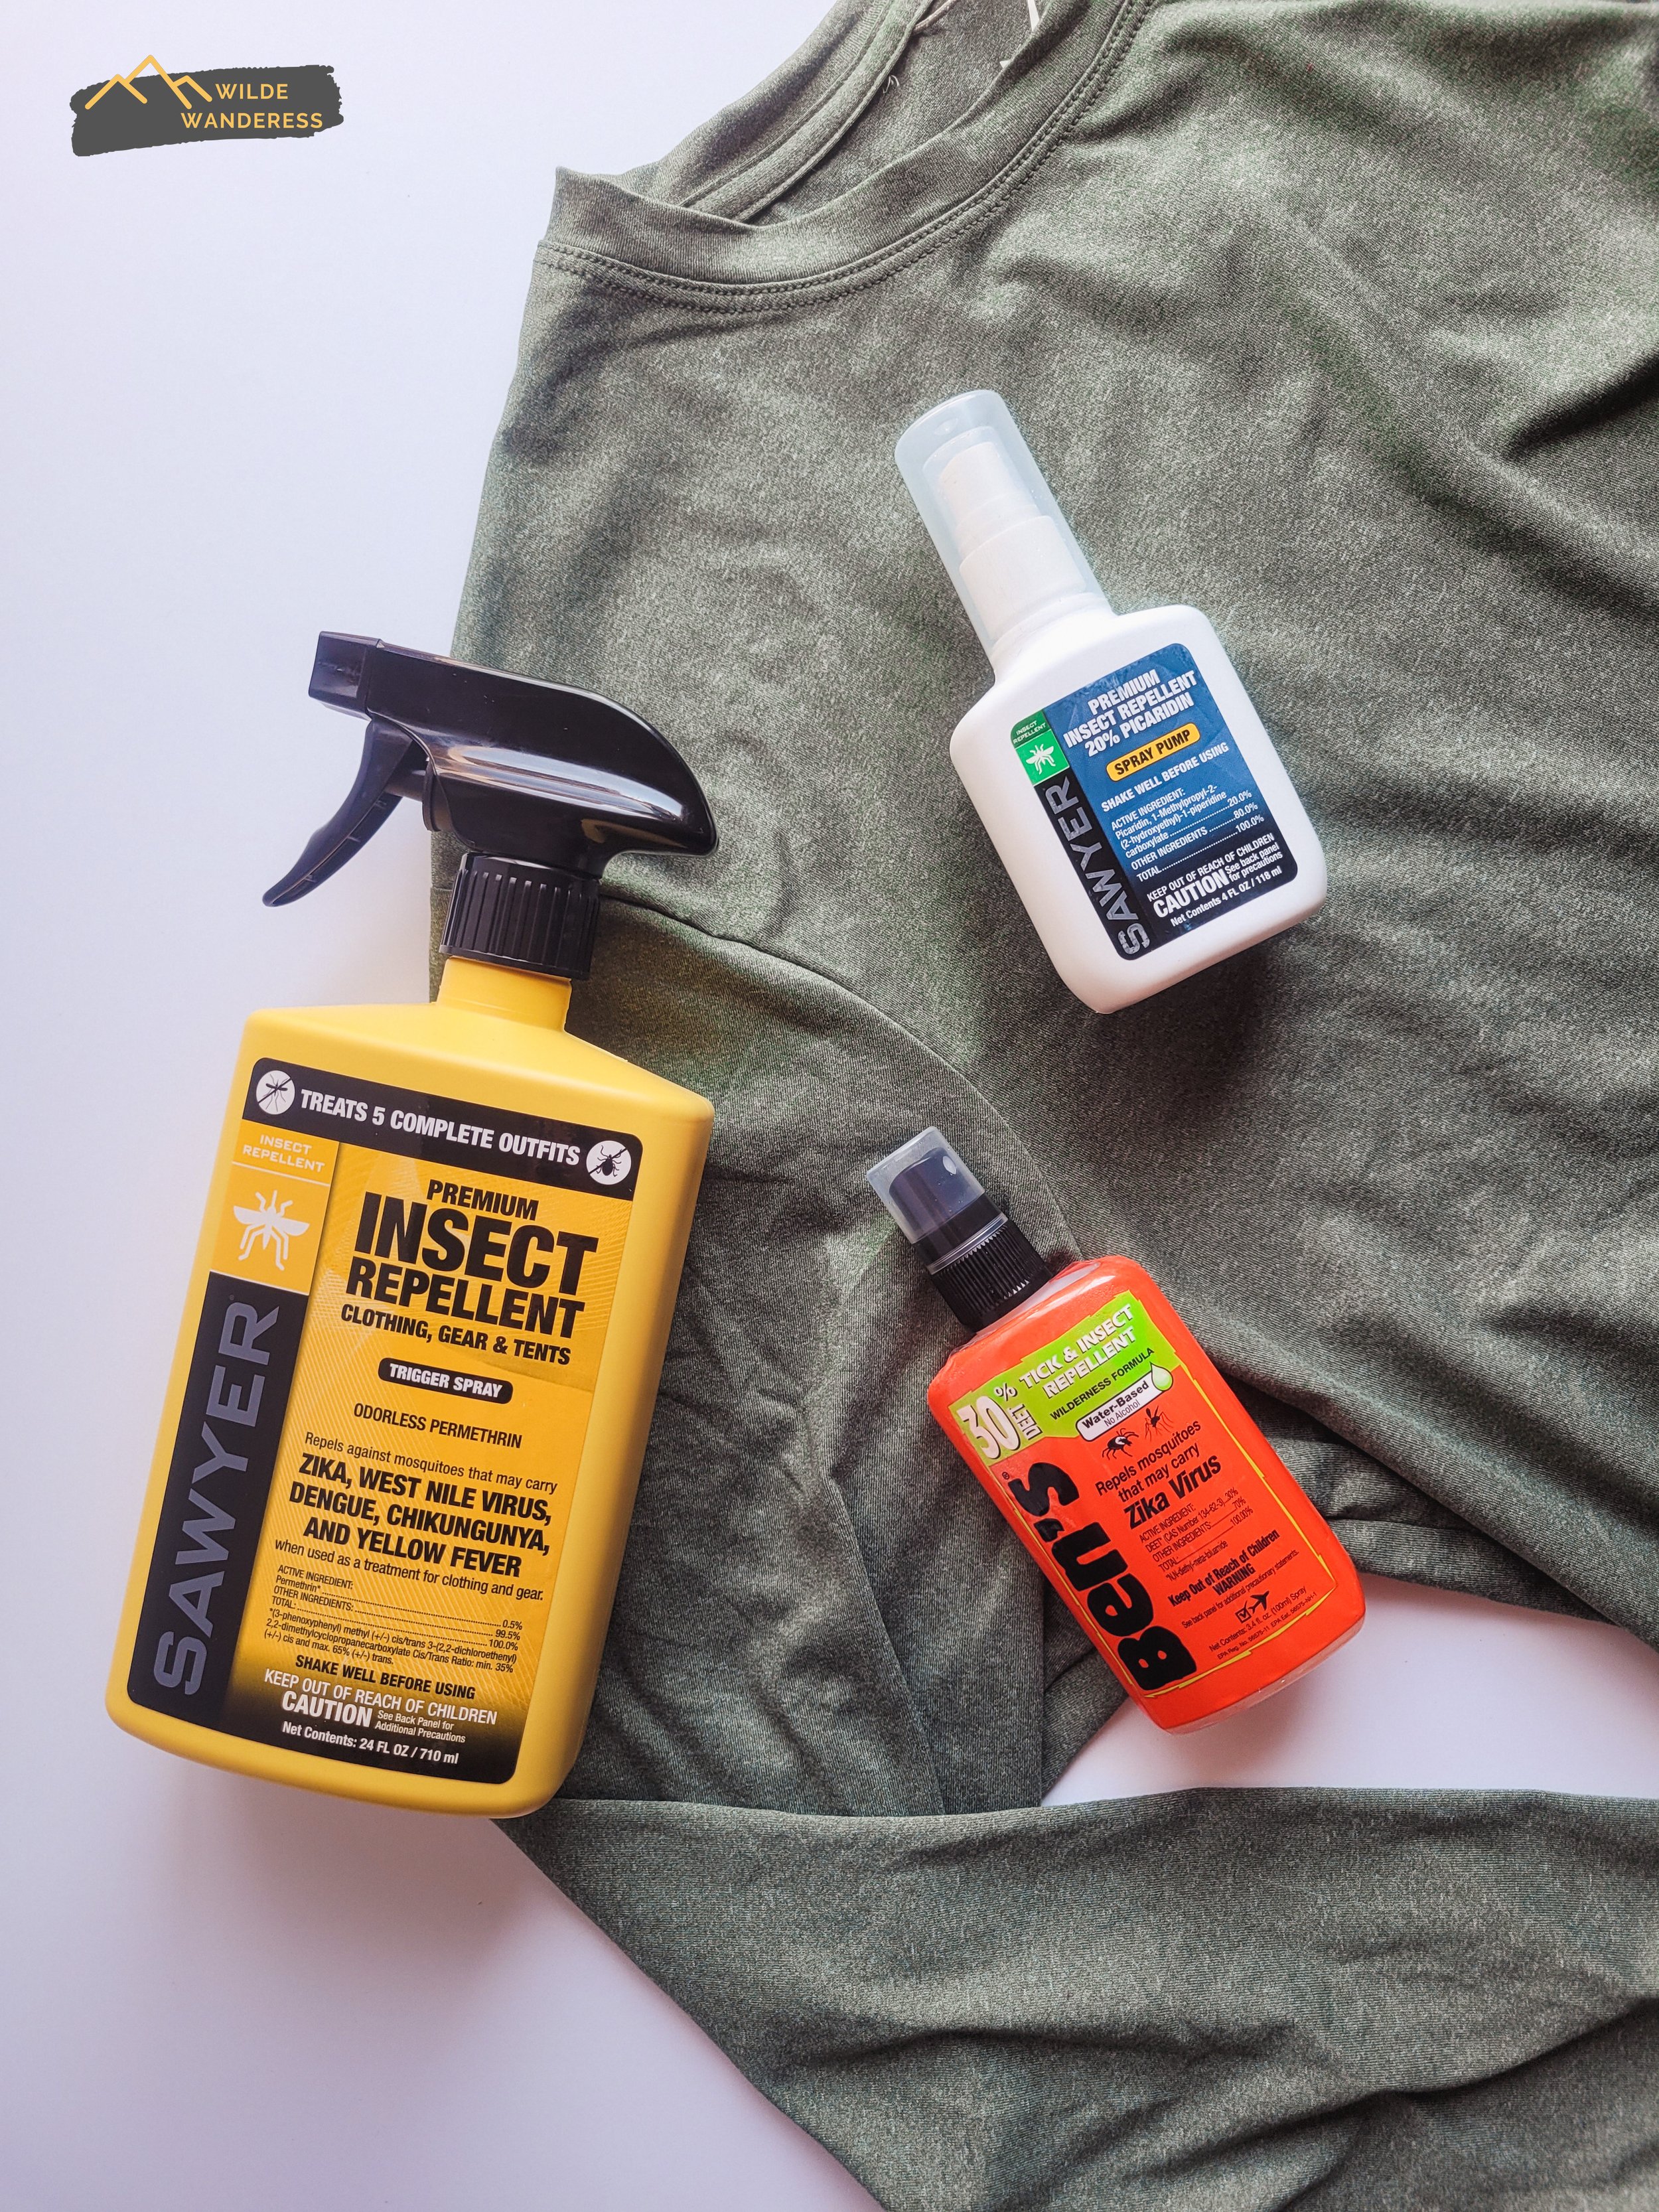
Bug spray. Picaridin, <30% DEET, and Permethrin work great and are safe to use! Picaridin and Permethrin are safe to use on gear and clothing while DEET may break down or discolor your gear and clothing.
Pregnant or nursing? Check out which bug sprays are safe for you to use.
Hiking with littles? Read which bug sprays are baby- and kiddo-approved.
Hiking sandals. If the trail has a lot of water crossings and it’s a warm day, you may want to wear, or at least bring, a pair of hiking sandals. They’ll keep your tootsies cool and are less likely to cause blisters than socks and shoes.
